Tuesday 17 June 2014

The Alpha Stirling Engine

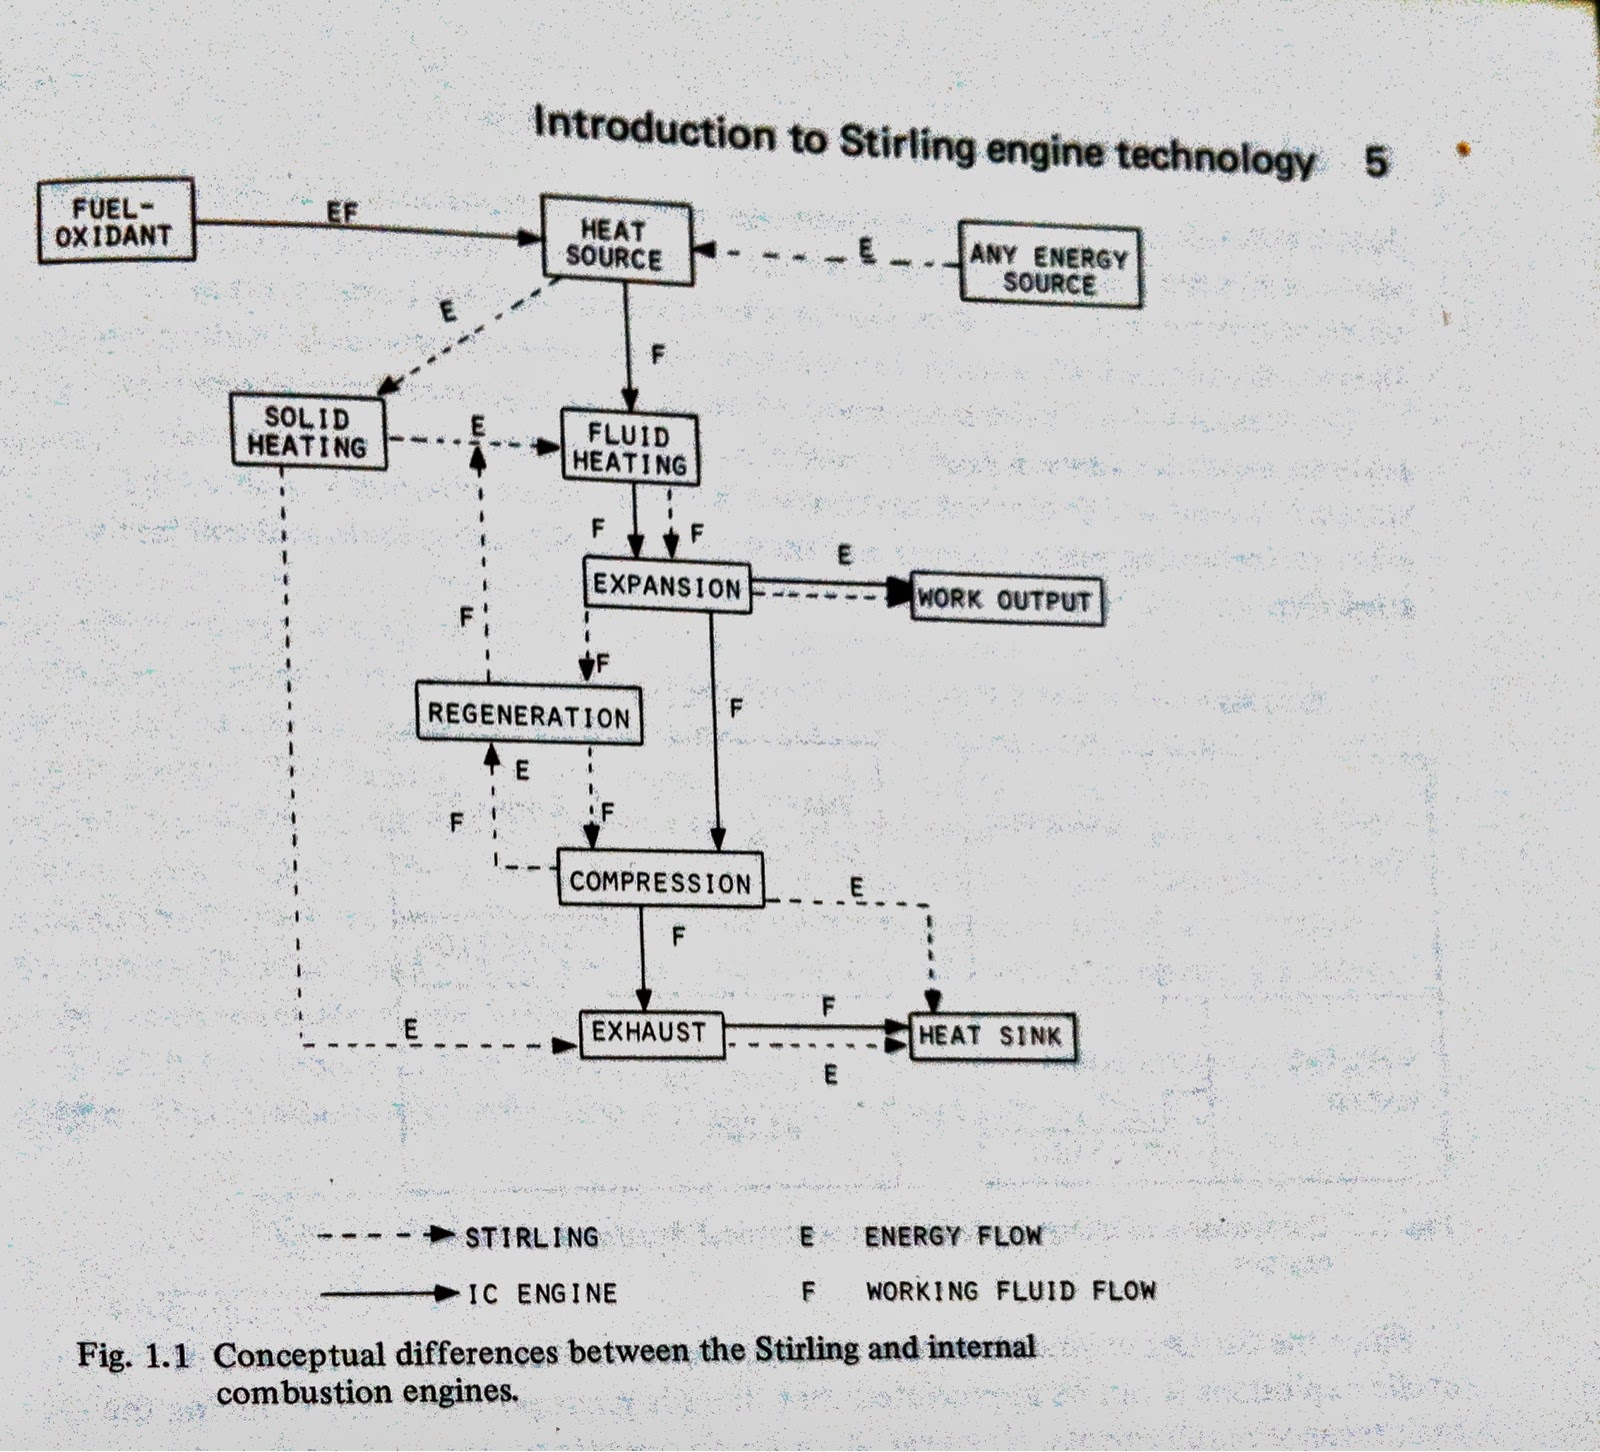
To conclude my research, I looked at the Alpha-type Stirling Engine. This engine contains the same elements as the Beta-type Stirling Engine (the Engine I looked more in depth with), but has adjustments to its layout which results in a more efficient Engine.

The most obvious change from the Beta Engine, is the shape of the Alpha Engine. This engine has 2 working pistons that are at a 90° angle to each other. Each piston is only exposed to a single heat source and converts thermal energy into mechanical energy. There are a number of advantages to this setup. First, by having both pistons do work at alternating intervals energy is almost always being converted into mechanical energy. The configuration also allows for the removal of the displacer as each piston acts as both a displacer and working piston. Finally, by having each piston only exposed to a single heat source greater differences in temperature can be achieved. This is because the heat sources will not interact with one another. As discussed in an earlier post, a greater difference in temperature results in a more efficient engine.

The Alpha Stirling Engine goes through the same 4 phases as the Beta Stirling Engine. First, the gas is heated, increasing the pressure against the piston until the piston pushes outwards. The gas continues to increase in temperature and pressure. This results in the pressurized gas moving the second piston, converting more thermal energy into mechanical energy. As the second piston pushes outwards, the drive on the engine pushes the first piston back to its resting position. This displaces the gas out of the hot cylinder and into the cold cylinder. The gas is then cooled. The flywheel then does work on the second piston to push the gas out of the cold cylinder. The cooled gas then flows out of the cool cylinder returning to the hot cylinder. The gas is reheated and the cycle repeats.

There a three major advantages to this configuration of the Stirling Engine. They all relate to the efficiency of the engine. First this configuration allows for an effective regenerator to be easily incorporated into the engine. While a regenerator is difficult to add to a Beta Stirling Engine, the regenerator on an Alpha Stirling Engine is easy to add. Since the Alpha Stirling Engine has separate cylinders for the heat sources, the heat exchangers can be more optimized. Shown in the animation, the cold source has “wings” added to it which increases the surface area, and as a result allows for the gas to be cooled quicker. Finally, each moving part in the engine converts thermal energy into mechanical energy during the cycle. Unlike the Beta Engine, the displacers are used to both convert energy and to displace the gas. In the Beta Engine the displacer does not do work on the system which means it lowers the efficiency of the engine. In the Alpha Engine, the pistons are both displacers and pistons, which results in less ineffective motion takes place.

 This section of my ISU was fairly difficult to understand. There are a number of reasons why I felt this section was more difficult. First, since the engine is more complex it is logically going to be harder to understand. More importantly, because I do not have this type of engine at home it was difficult to visualize the motion of the pistons and what was causing the motion. The animation on Animated Engines.com made it easier to understand what was happening and why. Furthermore, my textbook used more advanced terminology when describing this engine which made it harder to understand the concepts the textbook was trying to communicate. That said, after some thinking, and watching the animation the engine became not unlike the engine I already understood. By connecting the motion of the different parts to the previous engine I was able to better understand how the engine worked.

Sources:

Hooper, C & Reader, T. G. (1983). STIRLING ENGINES. New York, NY: E. & F. N. Spon.


Animated Engines. (n.d.). Two Cylinder Stirling Engine. Retrieved June 5, 2014 from “Animated Engines”:www.animatedengines.com

Gas Laws in the Stirling Engine

During this part of my ISU, I related the gas laws I read about earlier to the Stirling Engine. Similar to reading about thermodynamics, since I was applying the knowledge, I didn’t have to return to the internet or textbooks for much reading. My textbook suggested that the gas laws allow for the motion of the working piston to be explained. As a result, this was my focus during the ISU.

Shown on the right, during the first phase of the Stirling Engine the displacer does not move, while the piston is pushed upwards. A number of laws are needed to describe this motion. First, prior and throughout the phase the gas was heated. The Gay-Lussac’s law states that as the temperature of a gas is increased, the pressure also increases. As the pressure in the cylinder builds, the gas puts a stronger force against the working piston. Eventually this force is strong enough to push the piston upwards. While the piston is moving the temperature is kept at a constant temperature. This is explained by the Boyle’s law; the volume increases while the pressure decreases. However, in the Stirling Engine since the gas is still increasing in temperature the gas nearly maintains its pressure. My textbook references this motion as isothermal expansion.

Once the working piston has been pushed upwards the displacer falls, shortly followed by the piston. The third phase – the falling of the piston – is shown on the left. Just before this phase the gas had been cooling. The Gay-Lussac’s law states as the temperature decreases so does the pressure. As a result, the force the gas exerts on the piston decreases. Eventually the force of the gas will not be able to hold the piston upwards. This results in the piston falling. While the piston falls, the volume decreases which beings to increase the pressure and temperature. This leads into the fourth and final phase of the cycle when the gas is heated before starting the first phase again.

This portion of my ISU was also very easy to understand. I did not need to visit many internet resources beyond finding a good diagram of the motion of the engine. This diagram was found at animated engines, which also contains a variety of other Stirling Engines. These engines also work because of the same properties, with changes to the layout of the engine. From my understanding, the engine I have researched is the most basic and as a result the least efficient version of the Stirling Engine. The site is an interesting look at different ways to apply the same principles to different mechanisms.

Sources:

Hooper, C & Reader, T. G. (1983). STIRLING ENGINES. New York, NY: E. & F. N. Spon.


Animated Engines. (n.d.). Low Temperature Differential Stirling Engine. Retrieved May 27, 2014 from “Animated Engines”:www.animatedengines.com

Monday 16 June 2014

Gas Laws

Similar to when I initiated reading about thermodynamics, I started my readings of the gas laws by not trying to connect the laws to the engine, but to try to fully understand the laws. The gas laws give the relationships between pressure, volume, temperature and the amount of a gas. The laws assume that the gas is an ideal gas. This means that the particles of the gas do not attract nor repel each other. This extends to mean that the particles will not react with one another. An ideal gas also assumes that the particles of the gas are of similar volume, which is inconsequential. This means that the volume of the particles gas is so small that the volume of the particles does not affect how the particles interact with its surroundings.

The gas laws consist of four laws which can be combined to form the ideal gas law. The first of these laws is Boyle’s law; the pressure-volume law. This law states that the volume of a given amount of gas held at a constant temperature varies inversely with the applied pressure. This means that a gas will have more pressure at a smaller volume and more volume at a smaller pressure. When graphed the law shows that V ∝ 1/p.

The second gas law is Charle’s law. This law gives the relationship between temperature and volume. Charle’s law states that the volume of a given amount of gas held at constant pressure is directly proportional to kelvin temperature (V ∝ T). Similarly, the third gas law, the Gay-Lussac’s law shows the relationship between temperature and volume. This law states that the pressure of a given amount of gas held at constant volume is directly proportional to the kelvin temperature (P ∝ T). 

The final law is Avogadro’s law, the volume-amount law. This law simply explains that when pressure and temperature are kept constant, the volume is directly proportional to the amount of particles (V ∝ n). In other words, more particles require more space. 

These four laws can be used to create the ideal gas law, which is used to analyze a gases pressure, volume, temperature and amount. By combining the proportionality statements of Charle’s law and Avogadro’s law the following proportionality statement is created: V ∝ nT. Furthermore by combining this statement with Boyle’s law the proportionality statement now appears as, V ∝ nT/P. or PV ∝ nT. The equation of this statement looks as follows, PV = nRT. This is known as the ideal gas law. 

Similar to studying thermodynamics, these laws were simple to understand when not trying to apply them to the Stirling Engine. As a result, I needed no clarification on my readings and further research was not required. This is partly because the textbooks I was reading did not offer much information on the gas laws, so the majority of my readings were completed online.


Sources: 

Serway, R. (1982). Physics: For scientists and Engineers. New York, NY: CBS College Publishing

Gas Lays. (n.d.) Gas Laws. Retrieved June 9, 2014 from “chemistry.bd.psu”: chemistry.bd.psu.edu/jircitan/gases.html


Goldberg, T. (n.d.) Ideal gas equation: PV = nRT, Retrieved June 9, 2014 from “KhanAcademy”: www.khanacademy.org/science

Increasing Efficiency of Stirling Engine

Following my readings on thermodynamics in the Stirling Engine I read about ways to increase the efficiency of the engine. There a number of ways to increase the efficiency of the engine. To have 100% efficiency, all of the thermal energy must be converted to mechanical energy. This is theoretically impossible; however the Stirling Engine is able to come close to the theoretical limit. This is done through increasing the temperature differences on the hot and cold sides of the engine and a matrix of wires, known as a regenerator.
As explained in a previous post thermal energy is transmitted through collisions of particles. An average of faster particles equates to more thermal energy, otherwise known as an increase in temperature. A larger difference in speed between the particles indicates a larger increase in speed for the slower particle. Likewise, the faster-moving particle will lose more energy. This means that the heating and cooling of particles can create enough of a difference to move the working piston faster, and results in a slight increase in efficiency.

100% efficiency is when all of the thermal energy is converted to mechanical energy. Thusly, if the thermal energy lost during the cooling phase was able to be reused in another phase of the engine, efficiency would be increased because more thermal energy would be converted to mechanical energy. The regenerator is responsible for this action. Shown to the right, the regenerator is a matrix of wire along the edges of the cylinder. When the displacer is moved gas is pushed, resulting in the gas rushing around the edges of the displacer to the opposite end of the cylinder. When the regenerator is added the gas is forced to flow through the regenerator. This results in an increase in efficiency.

Efficiency is increased when this occurs because the regenerator pre-cools and pre-heats the gas. For example when the gas rushes from the hot end of the cylinder to the cold end of the cylinder the hot gas flows through the regenerator. When the gas flows through the regenerator the gas particles collide with the slower particles of the regenerator. This heats the regenerator and effectively pre-cools the gas. Likewise, when the gas returns to the hot end of the cylinder it must flow through the regenerator. The gas is now cooler than the regenerator, thusly when the particles collide they heat the gas. This pre-heats the gas. By pre-heating and pre-cooling the gas less energy has to be put into the system each cycle as some of the energy already put into the system is re-used each cycle. This results in an increase in efficiency.

For the regenerator to be effective a few criteria must be met. First the gas must flow through the regenerator when changing locations within the cylinder. Secondly, the material of the regenerator must be able to increase and decrease in temperature easily. Most regenerator’s use steel, which would indicate that steel, is able to receive and expel thermal energy easily. Finally, the surface area of the regenerator must be carefully considered. If the regenerator is too large, each particle of the regenerator may not be able to gain enough thermal energy to see an increase in efficiency.  Similarly, if the regenerator is too small the gas may not be able to effectively cool and heat itself resulting in no increase in efficiency.

During these readings I had little trouble understanding the general ideas of the regenerator and ways to increase efficiency. I did however struggle to understand why a larger difference in temperature results in more efficiency. This is because my intuition tells me that even if there was a larger difference in temperature, proportionately the same amount of thermal energy is being converted to mechanical energy. However, the textbooks and internet readings I looked at all specifically stated that a larger difference in temperature increases efficiency. I suppose this makes some sense, because if the temperature can be increased in fewer collisions than the efficiency must be increased. Beyond this struggle, I was able to understand how and why the regenerator works and the importance of including one in the engine.

Sources:

Hooper, C & Reader, T. G. (1983). STIRLING ENGINES. New York, NY: E. & F. N. Spon.


Stirling Engine. (n.d.). The operating principles of Stirling engine. Retrieved June 3, 2014 from “Robert Stirling Engine”:www.robertstirlingengine.com

Sunday 15 June 2014

Heat Flow in the Stirling Engine

After reading about the Kinetic Molecular theory I returned to the Stirling Engine to see how these concepts can be applied to explain the Engine. Like other parts of this project instead of reading about how the theory applied to the engine I was able to discover it myself and confirm my knowledge through observations and talking to my father. It’s interesting to note that since Robert Stirling patented the Stirling Engine in 1816, before the final development of the kinetic molecular theory there was a time when no one could fully explain how the engine worked. Earlier I explained the motions of the four phases of the Stirling Engine. In these phases the gas is heated and cooled to move the working piston and in turn rotates the flywheel and displacer. The kinetic Molecular theory can be used to explain the flow of heat in the Engine.

During the heating phase of the cycle the displacer allows the gas to have contact with the heat source and the piston has fallen to its rest position. The particles in the heat source carry a high amount of thermal energy and collide with the wall of the cylinder. This heats the cylinder transferring the thermal energy of the heat source to the cylinder. The particles of the cylinder then collide with the particles of the cooled gas, transferring the thermal energy to the particles. Millions of collisions occur over a period of a few seconds and the gas is heated. By this point the pressure from the increase in average kinetic energy of the particles has increased to the point that the working piston is pushed upwards.

Once the piston is pushed upwards the displacer then moves allowing the gas to come into contact with the cooler side of the cylinder. The fast moving particles in the gas collide with the cool slower particles of the cylinder. This slows the particles of gas. The result is the thermal energy is transferred out of the system. During this phase efficiency is lost. This is because to be 100% efficient all of the thermal energy added to the system must be converted into mechanical energy. Since some energy is transferred out of the system during the cooling phase efficiency is lost.

This theory explains why a difference in temperature is required for the engine to work. It also explains why a greater difference in temperature will result in a faster engine. First, in the event of a thermal equilibrium the kinetic energy of each particle is the same. This means that when the two particles collide they would gain the same amount of energy as they lost. As a result during the heating phase of the engine there would be no increase in kinetic energy per particle. As a result, the gas would not heat up and there would be no change in pressure. This means the working piston would not move and the cycle could not be completed.

To explain why a greater difference in temperature results in a faster engine I would like to return to the analogy of cars colliding with each other. Imagine one car is not moving while the second car is going very fast. When they collide, the car that isn’t moving gains a lot of speed and the car going very fast slows down dramatically. Now imagine the car moving very fast is only going half the speed. When the cars collide the force of the collision is smaller. The car that is not moving gains less speed. When this is applied to the particles in the engine if the particles have a greater difference in thermal energy more energy would be transferred during each collision. This means the temperature can be changed quicker and the engine can operate faster.

Sources:

Hooper, C & Reader, T. G. (1983). STIRLING ENGINES. New York, NY: E. & F. N. Spon.


Dick G, Geddis A, James E, McCaul T, McGuire B, Poole R, Holzer B. (2001). Physics 11. Toronto, ON: McGraw-Hill Ryerson Limited.

Saturday 14 June 2014

History of Heat Theories - The Kinetic Molecular Theory

For this segment of my ISU I read about the different theories of how humans’ understanding of what heat was has changed over time. Since the chapter tied into what we were talking about in class and I was reading from my grade 11 textbook, I was able to fully understand everything I was reading and did not require further research or discussion. Furthermore, during this segment I was advised to not to worry about applying the different theories to the Stirling Engine. Thusly, I will not be talking about the Stirling Engine in this post.

The very first concept of what matter consisted of was created thousands of years ago. They believed that all matter consisted of 4 elements; earth, air, fire and water. Under this theory all matter consisted of these elements and under certain conditions the matter would “release” its fire.

This belief held until 400 years ago when a German scientist presented a new theory. His theory presented that heat was a fluid known as Phlogiston. His theory stated that Phlogiston or heat flowed from, into or out of the substance. This theory lasted about 100 years to the mid-1700s when scientists discovered combustion required Oxygen.

With their newest belief of heat proven wrong scientists searched for a new answer. The result was Caloric Theory. This theory stated that “Caloric” or heat was an invisible “massless” substance that existed in all materials and could not be created or destroyed. It stated that “Caloric” had a self-repulsive force which caused Caloric to flow from high concentration to low concentration. This theory was able to explain almost all observations, but still failed to explain what heat was. Caloric Theory could not explain why rubbing two cold objects together could create heat. This question remained unanswered until the discovery of the particle.

By the 1900s scientists had discovered the particle. Particle theory suggested that all matter is composed of particles that are always in motion. The current heat theory, the Kinetic Molecular Theory was created from this discovery. This theory is able to explain all currently observed phenomenon associated with heating and cooling objects and contains multiple laws of thermodynamics. The theory stats that particles in hot objects move more rapidly thus have more kinetic energy than cooler objects. This means that heat is not a substance but the transfer of thermal energy. According to the theory, thermal energy is the kinetic energy of the particles of a substance and is transferred from particles colliding with slower-moving particles.


When reading about how thermal energy is transferred between particles I used an analogy to understand it on a larger scale. I thought of two cars of equal mass and size. One car is moving at 10km/h, while the second car is moving at 90km/h. The 90km/h car collides with the car moving at 10km/h. As a result the 10km/h car speeds up while the 90km/h car slows down. This same event occurs in a microscopic scale during the transfer of thermal energy – fast particles collide with slower particles speeding up the slower particles while slowing down the fast particles. A thermal equilibrium occurs when the fast particles have collided with the slow particles enough so that the fast particles and the slow particles are the same speed. At this point the temperatures of the two objects are identical. As I said at the beginning of this post, the readings for this segment where straight forward and I had no problem understanding the different theories proposed in the textbook. 

Sources:

Dick G, Geddis A, James E, McCaul T, McGuire B, Poole R, Holzer B. (2001). Physics 11. Toronto, ON: McGraw-Hill Ryerson Limited.

Entropy in the Stirling Engine

Pressure and volume changes
during the Stirling Cycle.
Throughout my readings of Entropy I found 2 ways to define entropy. Entropy can be defined as a measure of disorder in a system. More related to the Stirling Engine, Entropy can also be defined as a measure of the energy in a system or process that is unable to do work. What this means is that the amount of entropy in a system can be shown two ways.

First entropy can show the disorder of particles in a system. This means that when a gas is heated and gains energy the particles are moving faster, there is more chaos. This is interpreted as more disorder which equates to more entropy. Likewise if particles where slowed down to 0 kelvin they stop moving. This is interpreted as no disorder or no entropy. Another way to show disorder is through volume changes. When gases have larger volumes they have more room to move. This gives the particles more ways to “bounce” than when in a smaller volume. As a result larger volumes can be interpreted as having more disorder in the gas or more entropy.

The second definition of Entropy states that entropy is a measure of energy in a system or process that is unable to do work. This is applicable to the Stirling Engine when analyzing the graphs shown to the right.
This graph shows changes
 in temperature and entropy during
 the Stirling Cycle.

At points 1 and 2 the working piston is at the top of its cycle. The piston has already preformed its power stroke and cannot do more work. As a result the energy in the system is unable to do work and there is high entropy. The graph shown to the right is an idealized case. Realistically, it should look more “banana-shaped” because point 1 should have more entropy than point 2. This explained from the previous definition of entropy where a lower temperature has less entropy than a higher temperature. Since at point 1 the particles are at a higher temperature, point one should have more entropy than the entropy at point 2.

The opposite process occurs at points 3 and 4. At both of these points the piston is at the bottom of its cycle. It is preparing for its power stroke and can do work. As a result the energy in the system is able to do work, which means less energy is unable to work. According to the second definition of entropy this means there is less entropy in the system. Furthermore, like points 1 and 2, points 3 and 4 do not have the same amount of entropy. At point 3 the gas is cooler than at point 4 where the gas has been heated. Since point 3 is cooler, its particles have less disorder and have less entropy.

A final way to explain the entropy in the engine is to look at the changes in volume. As discussed earlier the volume of the gas changes with the motion of the working piston. The piston is pushed upwards from points 4 to 1. This increases the volume and also increases the entropy. Similarly, from points 2 to 3 the piston is falling, decreasing the volume. As a result there is less entropy.

The multiple definitions of entropy give many ways to explain the changes in entropy in the Stirling Engine. This also made it very difficult to understand what entropy was. I learn best when I am

able to quantify things I am learning. When reading about entropy everything was very qualitative. As a result I didn’t understand what I was reading. After finding the Temperature vs Entropy graph of the engine I began to look at what was changing between each point on the graph. This meant creating diagrams of the position of the displacer and working piston for these points and slowly rotating my engine. Eventually, I understood what entropy was and how it was occurring. The paragraphs above show the different ways I was able to describe changes in Entropy. Like other parts of my project, I found the textbooks and many internet sources expected a higher knowledge of thermodynamics and general physics when describing entropy. As a result I had to try to explain what entropy was through the simplest definitions and what I already knew about thermodynamics.

Sources:

Hooper, C & Reader, T. G. (1983). STIRLING ENGINES. New York, NY: E. & F. N. Spon.

Rutgers. (n.d.). Lecture 11. Retrieved June 2, 2014 from “physics.rutgers”: www.physics.rutgers.edu

Serway, R. (1982). Physics: For scientists and Engineers. New York, NY: CBS College Publishing

Sunday 8 June 2014

Obtaining Net Work

After my first meeting with Mr.H I was stumped on how Net Work was obtained in the Stirling Engine. If the law of conservation of energy was to be true wouldn’t the work required to push the pistons upwards equal that of the work required to move the piston downwards. After some thinking I realized I was missing a key idea; fluctuations in the pressure of the main cylinder change the forces acting on the piston. Using this I was able to reason how Net Work could be obtained. For this post the only new reading I completed was to investigate how to calculate the force exerted by a gas in a closed system and what a PV diagram shows.

The PV diagram to the right shows Pressure and Volume fluctuations within one cycle of the Stirling Engine.
Four unique phases are shown in this idealized case. Realistically the diagram looks closer to the shape a banana, however the only changes between the idealized case and the realistic diagram is that the four phases are more segregated. Meaning in reality the four phases still exist but the drive mechanisms result in the four phases overlapping, slightly changing the overall appearance of the diagram. The four phases correspond with the motion of the displacer and working piston. When pressure increases or decreases the displacer is moving, changing the heat source and resulting in higher or lower pressures (phase 4 and 2 in the diagram). The motion of the piston is illustrated in phases 4 and 2.

Since Work only occurs when force is parallel to displacement, the motion of the displacer can be neglected because there are no changes to the volume of the system during its motion. As a result to calculate the Net Work of the Engine only the motion of the working piston needs to be analyzed. From looking at my model of the Engine I realized the piston moves in two circumstances:
  1.  The piston pushes upwards when there is high pressure in the cylinder
  2. The piston falls when there is low pressure in the cylinder

Since I needed to find the work of the piston in each circumstance I started to adapt the equation W = F||∆d. I went to the internet and found that the force a gas exerts on an object can by explained through the equation F­­gas = P x A, where P is the pressure in Pascal’s and A is the area of the surface the gas is pushing against. I checked the equation to make sure that this equation was an accurate representation of the force applied by the gas:

F­­gas = P x A
N = N/m2 x m2
N = N

This shows that the force of the gas can be explained by the pressure of the gas and the area of the surface the gas is pushing against. Furthermore, I reasoned that since the system is in 3 dimensions the displacement of the piston should be described by volume. Since the volume of a cylinder is the area of its circular shape multiplied by the length volume can be shown in the equation V = A x ∆d. Rearranged I found that ∆d = V/A. I then substituted these new equations into the work equation:

W = F x d
W = (PA)(V/A)
W = PV

Thusly the Work done at any point by the working piston is the product of pressure and a change in volume. Returning to the PV diagram, it is seen that during phase 1 and 3 the change in volumes are equivalent, but during phase 1 the pressure is much higher than the pressure in phase 3. If the work is equal to the product of pressure and the changes in volume it is easily distinguishable that the work done during phase 1 will be larger than the work done during phase 3. As a result the Net Work of the Engine is the work done in phase 1 minus the work done in phase 3.

As I mentioned earlier little reading helped with my understanding of how Net Work occurred within the Stirling Engine. Beyond stating that the PV diagram shows the Work done by the Engine and that the motion of the displacer need not be analyzed my textbook gave no information. Likewise the internet was used to find the units of measure for a Pascal and the force the gas exerted on the piston. My understanding of Net Work in the Stirling Engine was through slowly going through the above equations aided by my own reasoning and prior knowledge.  

Sources:

Hooper, C & Reader, T. G. (1983). STIRLING ENGINES. New York, NY: E. & F. N. Spon.


Wikipedia. (May 26 2014). Pressure. Retrieved May 28 2014 from “Wikipedia”: www.wikipedia.org

Parts of The Stirling Engine

Sorry for the delay in posts, I've had numerous projects in my other classes due the last few days and although I've been reading the writing of these posts was delayed..

I continued my project by reading about the parts of a Stirling Engine and what each of their functions included. For this I went to the McMaster library to find some introductory books on Stirling Engines. While at McMaster I borrowed a number of books, of these I’ve only had time to look at one. The book I got the majority of my information for this post comes from STIRLING ENGINES written by Graham Reader and Charles Hooper in the 1980s. Before explaining the parts of the Stirling Engine I should note that there are many variations of the engine and for this post I will be referencing to the beta-type Stirling Engine. The beta-type Stirling Engine consists of 3 mechanical parts with an optional 4th part that aids in efficiency which I will talk about in a later post. The Engine is a closed regenerative cycle heat engine that requires only a difference in temperature to create Net Work. Its’ cycle can be divided into 4 distinct phases which help show the purpose for each part. The beta-type Stirling Engine consists of a displacer, working piston, flywheel and an optional regenerator to increase efficiency.

The displacer is a large, loosely-fit piston within the large cylinder of the Engine. This large cylinder contains a gas (pressurized hydrogen and helium are optimal, however any gas can work) which is heated by an external heat source. As the Engine completes its cycle the displacer has two purposes; to move the gas into and out of contact with the heat source and to provide insulation between the heat source and the cooler side of the cylinder.

The working piston is the smaller piston on the Engine, and should be snugly fit within its cylinder. Ideally, no air should be able to move around the edges of the piston. The working piston is responsible for the mechanical energy within the Engine. This piston responds to changes in pressure from the heating and cooling of the concealed gas. As the pressure increases the force exerted by the gas within the cylinder also increases. Once the pressure becomes strong enough the gas pushes the piston upwards rotating a flywheel. This stroke does all of the work within the engine. The remaining 3 phases put energy back into the system using some of the converted mechanical energy.

The working pistons motion results in an increase in volume and less pressure. The flywheel continues to rotate using some of the mechanical energy to move the displacer down blocking the gas from the heat source and effectively cooling the gas. The cooler gas contains less pressure, resulting in the working piston returning to its lowest position. This phase also uses some of the mechanical energy of the flywheel. The final phase of the Engine is the flywheel pulling the displacer upwards, allowing the gas to come in contact with the heat source repeating the cycle again.

Understanding what each part of the Engine is and what it does was fairly complex and required a lot of google searches and re-reading of textbooks. Of the sources I visited there were 3 sources that proved to be the most useful. The first of these sources was from animatedengines.com which showed the cycle of the engine in an animated GIF and gave a very brief explanation of the different phases of the engine. I also visited robertstirlingengine.com which built from the animation showed at animatedengines.com. This site also explained the different parts of the engine in more detail. It was here where I found the proper names for different parts. My textbook itself started more complex and little of what I read was directly applicable to the basic knowledge of the Engine. I also first saw a PV diagram on this website which is explained in my next blog post.

Despite these sources the majority of my understanding came from actually watching the Stirling Engine I have at home and comparing it to what I was reading online and in the textbook. For some reason everything began to “click” after touching and watching the physical engine instead of just watching theoretical diagrams.
 
Sources:

Animated Engines. (n.d.). Low Temperature Differential Stirling Engine. Retrieved May 27, 2014 from “Animated Engines”: www.animatedengines.com

Hooper, C & Reader, T. G. (1983). STIRLING ENGINES. New York, NY: E. & F. N. Spon.


Stirling Engine. (n.d.). The operating principles of Stirling engine. Retrieved May 28, 2014 from “Robert Stirling Engine”: www.robertstirlingengine.com

Monday 26 May 2014

Chapters 1.2, 1.3

These initial sections give a brief overview of what Stirling Engines are capable of, what they are and how they work. The brief nature of these initial chapters is highlighted in chapter 1.2, which is simply a list of principles and characteristics of the engine, combined with where to get more information for each principle.  These facts lead into chapter 1.3 – What is a Stirling Engine? This chapter explains that the Stirling Engine “is a closed regenerative cycle heat engine which operates at high mean gas pressures, in an oil-free environment, with no valve gear, with energy transfers through the cylinder walls” (Reader, 4). The chapter continues to show a schematic diagram (to the right) comparing the differences between the Stirling and Internal Combustion (IC) Engines. From this diagram I got the impression that the Stirling Engine is a more sophisticated machine in terms of efficiency and having the ability to utilize multiple energy sources (off the top of my head an engine that uses the temperature of water in lakes to power boats or a very sensitive engine that generates power from the heat of your hand). Furthermore, it appeared that the IC Engine is straightforward and as a result loses efficiency
and some sophistication.  The chapter concludes by introducing the regenerator showing how it improves efficiency.

Essentially, these chapters showed that at the Stirling Engine despite being a very complex machine can be explained using everyday observations, but full understanding of the Engine requires more knowledge. At its very basics the Stirling Engine is an air-tight box, in which a pressurized gas is heated and cooled by an external heat source which increases and decreases the pressure within the box, moving a piston up and down. Since more work has to be applied to move the piston upwards than downwards, mechanical energy can be created. Interestingly, when heat is put into a Stirling Engine mechanical energy is outputted, but if mechanical energy is put into a Stirling Engine (by rotating its flywheel) hot and cold heat is outputted (Chapter 1.2). Although I understand how the former works, this system confuses me as depending on the direction the flywheel is rotated the location of the hot and cold heat also reverses. After reading chapters 2.1 (Thermodynamics) and 2.2 (Heat Transfer) I will hopefully better understand how this works.

The chapter ends introducing the Regenerator which I found to be a neat, yet very simple idea. Basically, instead of having the heat sources cool the hot gas all the way down to a cold temperature and losing all the energy they had the gas flows through a regenerator collecting some of the heat. Without getting too complex, a regenerator is a group of stainless steel wires that the gas flows through to pre-cool or pre-heat the gas. This is because when the gas flows from hot to cold the gas is hotter than the regenerator. Therefore, the gas gives some of its heat to the regenerator, cooling the gas while heating the regenerator. When the gas returns, moving from cold to hot, the gas is colder than the regenerator and therefore is preheated returning some of the energy it lost during the previous phase. As a result the regenerator pre-heats and pre-cools the gas, using energy that would otherwise be lost which makes the engine more efficient. The other parts of the Stirling Engine are discussed in chapter 1.4, which will be posted shortly.

Talked to Mr.H

Confirmed slightly changing the plan with Mr. H today. All is good. The new plan will be reading about 16-20 pages a day to complete around 200 pages within 2 weeks. The textbook chapter lengths vary from 2 pages to over 30. As a result, some posts will cover multiple chapters while others will not.

Sunday 25 May 2014

Created Timeline

Got distracted today with other work, so didn't have time to work on the project beyond setting out a timeline to finish in 2 weeks. I've made some changes from the initial plan, so will talk to Mr.H tommorow before posting them and pushing onwards.

Saturday 24 May 2014

More reading

I'm continuing to read the textbooks I picked up at McMaster on Thursday.The more I work on this the more it appears to fit in the Advanced topic ISU category. 

Thursday 22 May 2014

More Research!

Over the past few days I've been spending about an hour each night reading my fathers physics textbooks to better understand the concepts I briefly read about online. Unfortunately the textbooks reference things I'm yet to learn, so progress has been very slow. Regardless I'll push onwards, I have a good sense of why the engines are shaped as they are and what the purpose of each part is. Soon I think I'll be able to start choosing resources and weights for different parts to attempt some calculations as to how much mechanical energy will be generated.

In hopes of speeding up progress I went to McMaster's engineering library today to find some books specifically on Sterling Engines. I ended up buying a $60 library card for the year and renting out 4 books for the next two weeks. They appear to be very promising after reading the first few pages!

Thursday 15 May 2014

Been Researching...

I've spent the last few days researching the Stirling cycle, and have made decent progress as to how the one cylinder engine runs. The engine goes through four phases as shown here and here. Over the weekend I will continue to try to get a better grasp of how the more effective alpha engine works. My engine will likely be an alpha engine, and designs should begin by early next week at the latest.

edit: Forgot to mention that I've retrieved the sterling engine kit my brother got for Christmas, which has helped tremendously in understanding the mechanics.  

Sunday 11 May 2014

It Begins!

I have chosen to do the design category for my physics ISU. Over the next few weeks I will be researching, designing and creating the layout of a Sterling Engine powered generator with the goal of outputting 5-10 volts in order to charge an smartphone and other handheld devices when a wall outlet is not readily available.